Painted Pumpkins
Card Base
- Create the Card Base:
Cut a piece of Pool Party Cardstock measuring 11″ x 5-1/2″. Score at 4-1/4″ and fold to create the card base.
Card Front
- Create the Embossed Layer:
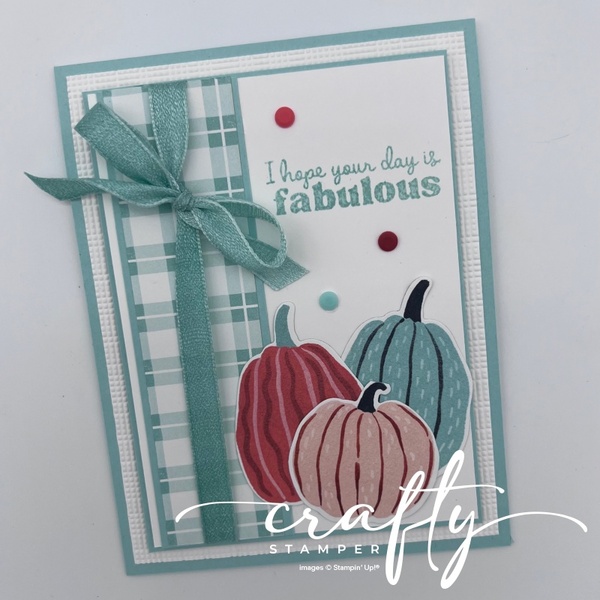
Cut a piece of Basic White Cardstock measuring 5-1/4″ x 4″. Emboss using the Softly Woven 3D Embossing Folder. Adhere the embossed layer to the card base. - Create the Layered Panel:
Cut a piece of Pool Party Cardstock measuring 4-7/8″ x 3-5/8″. Cut a piece of Basic White Cardstock measuring 4-3/4″ x 3-1/2″. - Add the Designer Series Paper Strip:
Cut a piece of Pool Party Cardstock measuring 1-3/8″ x 4-3/4″. Cut a piece of Painted Patches Designer Series Paper measuring 1-1/4″ x 4-3/4″. Adhere the DSP to the Pool Party strip. - Color and Add the Ribbon:
Using a Blending Brush and the Pool Party Stamp Pad, add color to the White Ribbon. Allow the ribbon to dry. Wrap the ribbon around the Basic White Cardstock layer and tie a bow, as shown. Adhere the Basic White layer to the Pool Party layer. Add Stampin’ Dimensionals to the back of the completed layered panel and adhere it to the embossed Basic White layer on the card front. - Stamp the Sentiment:
Using the Pool Party Stamp Pad, stamp the sentiment to the card front, as shown. - Add the Pumpkins:
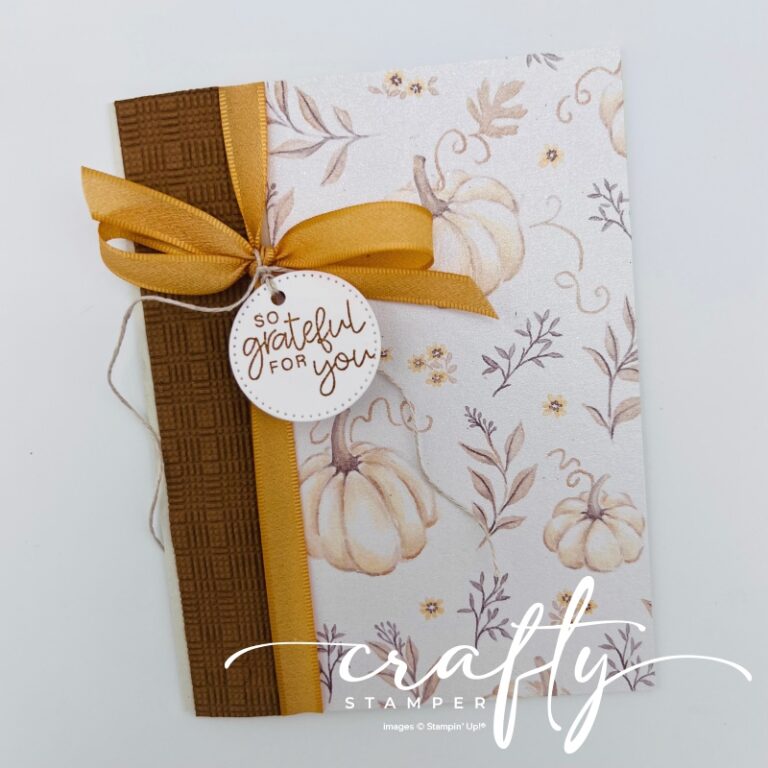
Select three pumpkins from the Painted Patches Designer Series Paper and add them to the card front, as shown. - Add the Embellishments:
Finish the card front with Painted Patch Adhesive-Backed Dots, as shown.
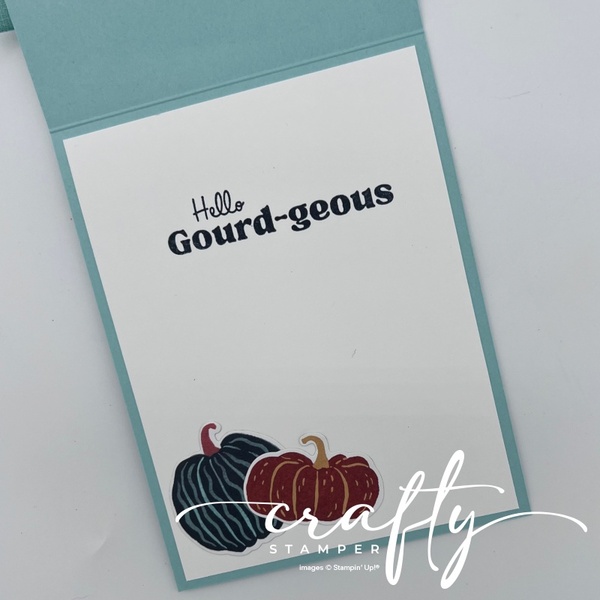
Inside of the Card
- Create the Inside Layer:
Cut a piece of Basic White Cardstock measuring 5-1/4″ x 4″. - Stamp the Sentiment:
Using the Secret Sea Stamp Pad, stamp the sentiment onto the Basic White layer, as shown. - Add the Pumpkins:
Add two pumpkins from the Painted Patches Designer Series Paper to the Basic White layer, as shown. - Complete the Inside:
Adhere the completed Basic White layer to the inside of the card base.
Please Note: I’ve included a list of the products used to create this card. The Painted Patches Designer Series Paper, Ribbon, and Painted Patch Adhesive-Backed Dots are not included in the product listing at this time because they will not be available for purchase until September 1, 2026. Once these products are available, you’ll be able to find them in my online store.